If you are using DIALux for the first time and you do not have much experience with CAD programs, we recommend that you create your first projects with the help of our wizards.
Experienced users can skip this chapter.
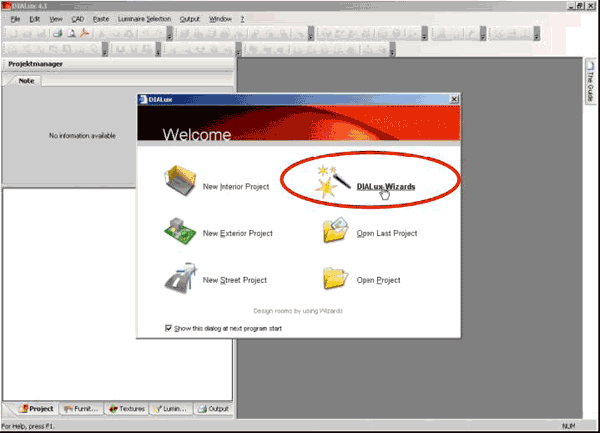
Fig. 16 DIALux Startup Dialogue
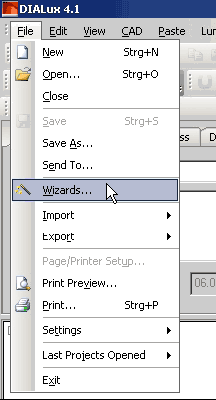
After the installation DIALux always starts with a Welcome window. In this window you can click with the left mouse button on DIALux Wizards. If you do not see this Welcome dialogue any more, you will find the wizards in the menu File → Wizards.
Fig. 17 Launch DIALux Wizard
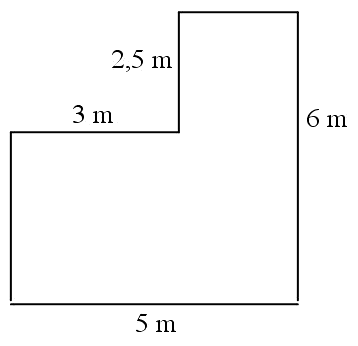
A worked example using the wizard follows for a Lshaped room with a luminaire arrangement to provide 500 lx on the work plane.
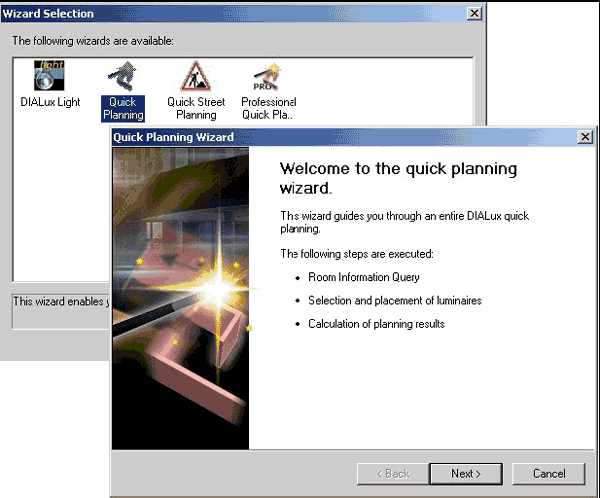
Fig. 18 Working with Wizards – Start
Click on the Quick Planning Wizard and then the following steps will be executed. Confirm each of your steps by clicking on Next.
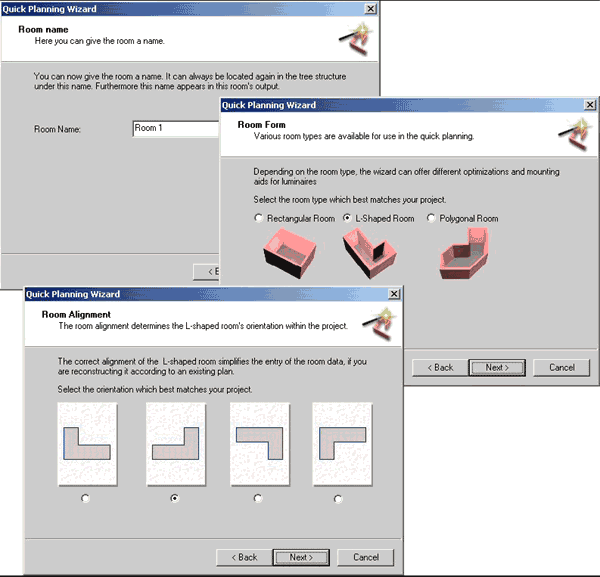
Fig. 19 Working with Wizards – Room Name, Room Form, Room Alignment
Enter the name of the room, select L-shaped room and afterwards define the orientation.
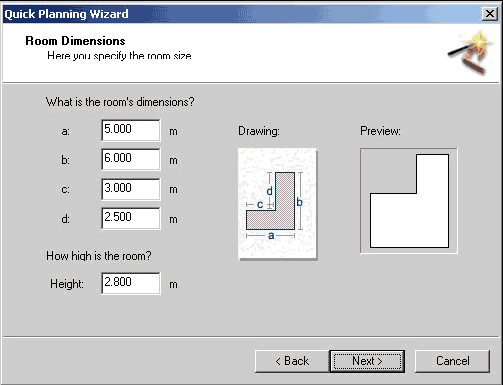
Fig. 20 Working with Wizards – Room Dimensions
Specify the Room’s Dimension and the Room Height. Which wall symbolizes each letter a to d is displayed on the drawing.
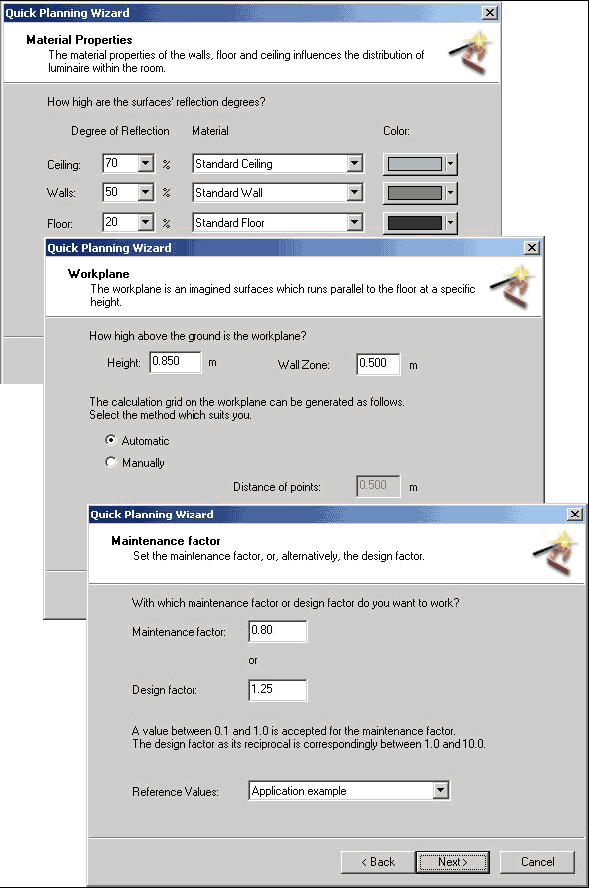
Fig. 21 Working with Wizards – Reflection, Work plane, Maintenance Factor
Specify the Reflectance, Work plane and the Maintenance factor. You can accept also the standard values of DIALux by clicking directly on Next.
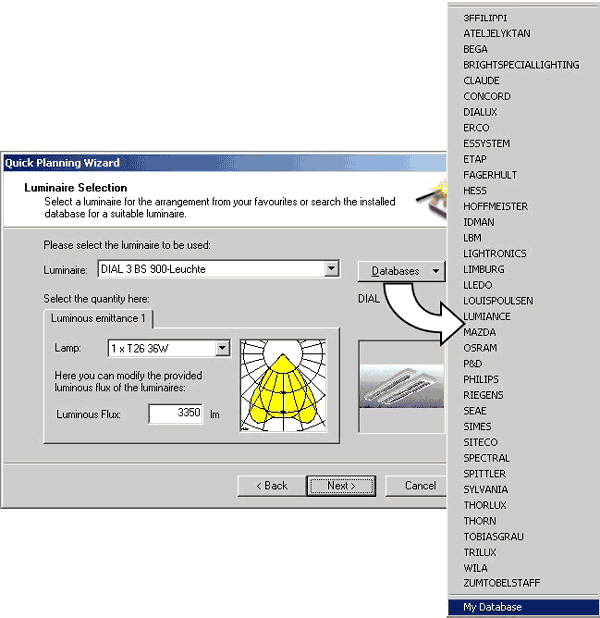
Fig. 22 Working with Wizards – Luminaire Manufacturer Selection
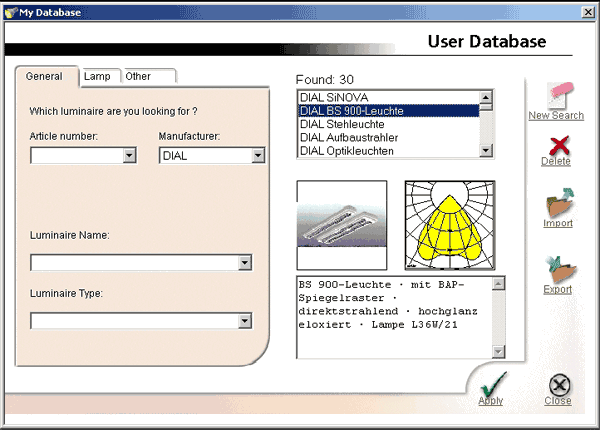
If you click in the dialogue of Luminaire Selection on Databases, you can launch the installed PlugIns or start the User Database. Always a few luminaires are arranged in the user database. In the user database you can save your favoured luminaires, in order to have fast access to your frequently used luminaires.
Fig. 23 Working with Wizards – PlugIn / User Database
Select the desired luminaire with the help of the filter functions of a PlugIn or the user database and then click on the button Apply. Then please click on the Close button.
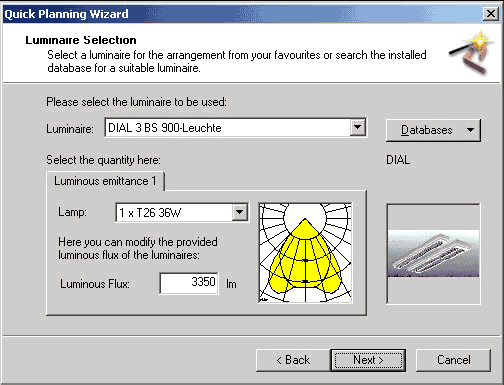
Fig. 24 Working with Wizards – Luminaire Selection
DIALux displays the selected luminaire in the dialogue of Luminaire Selection.
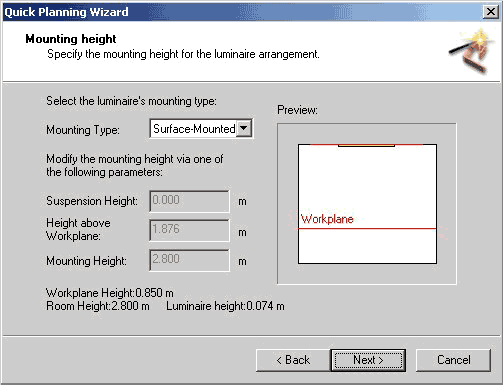
Fig. 25 Working with Wizards – Mounting height
Select the luminaire’s mounting type.
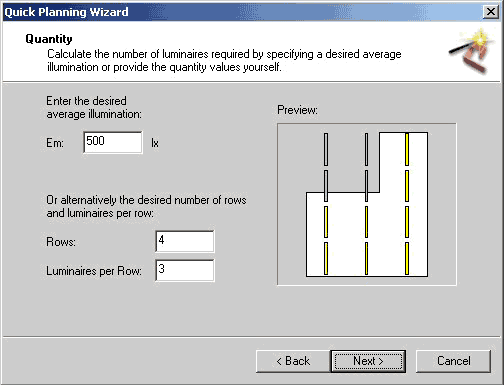
Fig. 26 Working with Wizards – Calculate the number of luminaires
On the basis of the efficiency method DIALux calculates the necessary number of luminaires for a specified illumination. The luminaires, which are outside the room, are not considered in the calculation.
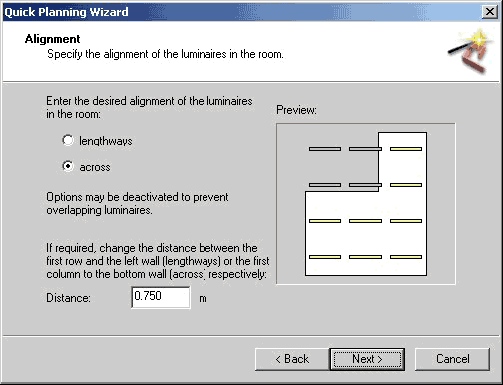
Fig. 27 Working with Wizards – Alignment of the luminaires
In the Alignment dialogue you can specify the orientation of the luminaires as lengthways or across.
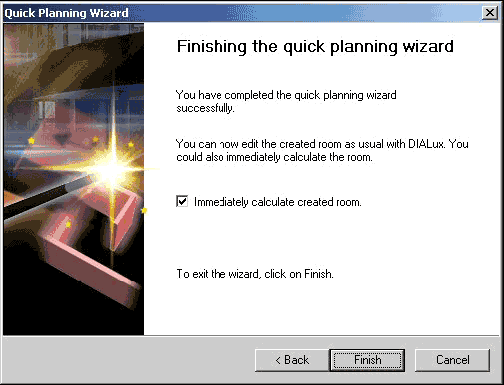
Fig. 28 Working with Wizards – Calculate result
Click on the Finish button and DIALux will begin the calculation and afterwards the calculated result will be displayed.
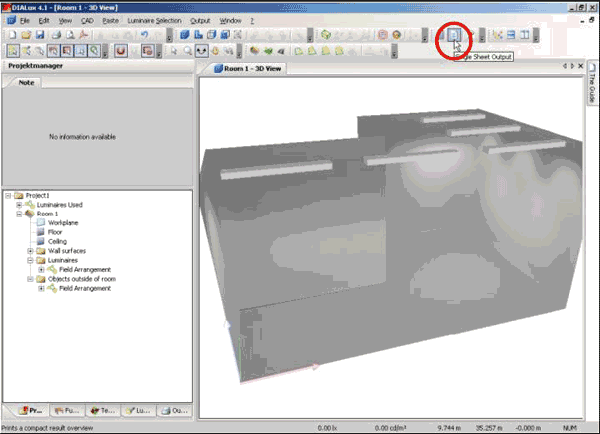
Fig. 29 Working with Wizards – Visually represented result
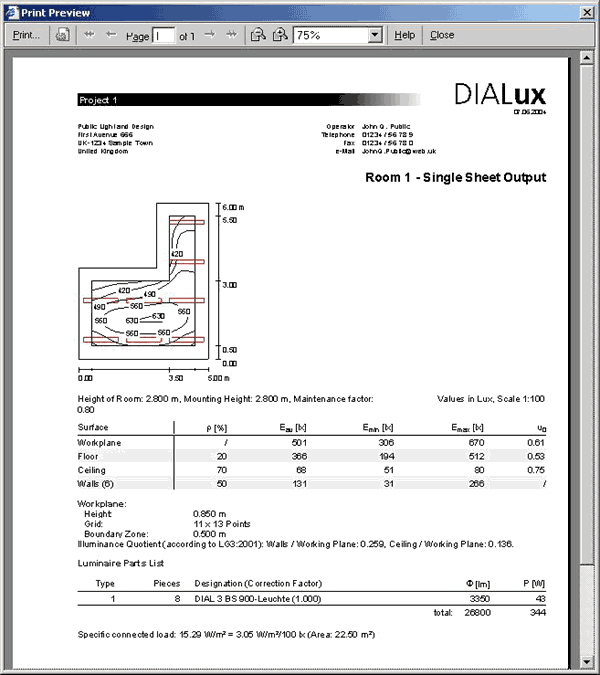
In order to display the calculated results click in the toolbar on the Single Sheet Output button. Afterwards you will see a summary, which displays all the important details on one page.
Fig. 30 Working with Wizards – Single Sheet Output